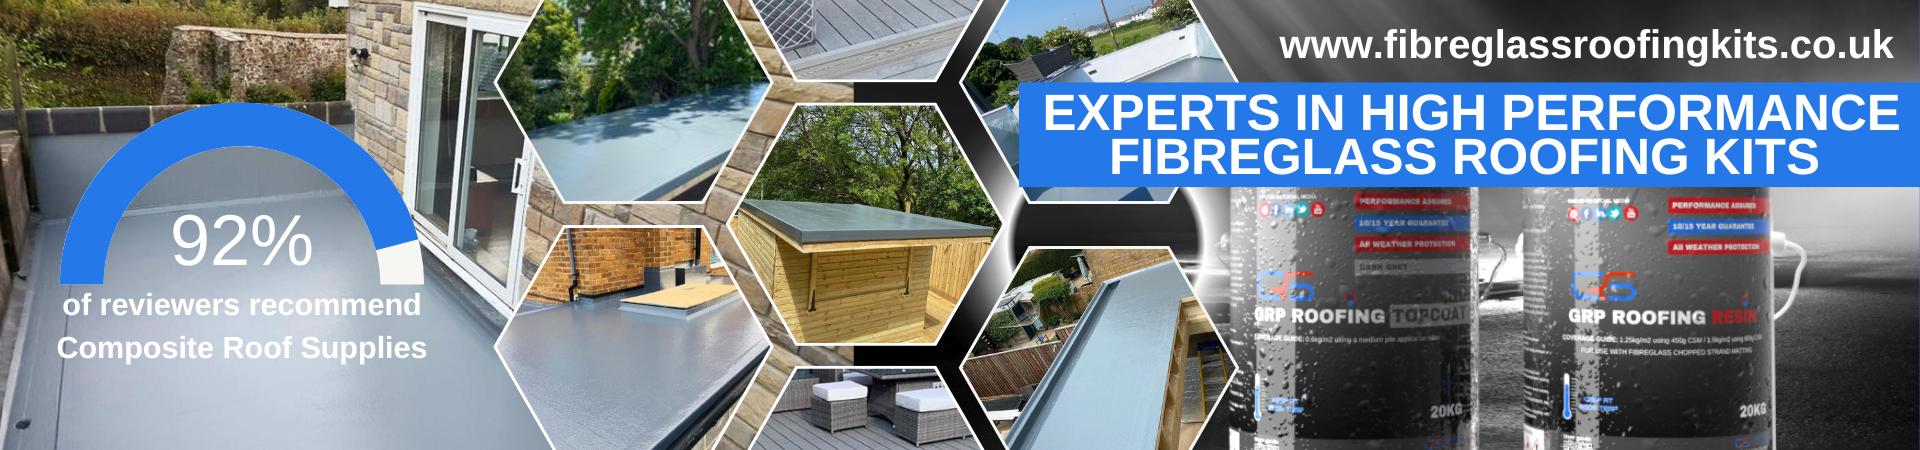
Fast-Shipping

Uk Mainland Delivery

Telephone Support

365 Support

Payment Method

Secure System

Safe Shopping

Safe Shopping Guarantee

WhatsApp Support

24/7 Support

How to lay a grp flat roof

Welcome to Composite Roof Supplies

How to lay a grp flat roof,
This video will show what we offer our customers

Which fibreglass trims do I use?

This video will show in minor detail what and where
on a flat roof commonly used trims are fitted

How to lay a grp flat roof

Enhance Your DIY Skills with These Comprehensive GRP Flat Roof Installation Videos

Whether you're a seasoned DIY enthusiast or a first-time homeowner seeking to tackle a flat roof project, these expertly crafted GRP roofing installation videos will guide you through every step of the process, from laying down the baseboards to applying the final topcoat.

Video 1: Laying the Foundation - Board Options and Installation

This introductory video delves into the essential groundwork of GRP roofing, providing a comprehensive overview of the different board options available and their suitability for various project requirements. You'll learn how to measure, cut, and install the boards correctly, ensuring a solid and stable foundation for your GRP roof.

Video 2: GRP Panel Installation: A Step-by-Step Guide

With the baseboards in place, it's time to tackle the heart of the project – installing the GRP panels. This detailed video walks you through the entire process, from selecting the appropriate panels to ensuring proper alignment and fastener placement. You'll gain valuable insights into how to create a seamless transition between panels and achieve a professional-looking finish.

Video 3: Addressing Cracks and Repairs: The Art of Laminate Bandages

No roof is immune to the occasional crack or damage. This video demonstrates the effective use of laminate bandages to address such imperfections. You'll learn how to mix and apply fiberglass resin and mats, reinforcing the damaged area for long-lasting protection.

Video 4: GRP Trims: Adding a Touch of Elegance and Protection

After the GRP panels are installed, it's time to enhance the aesthetic appeal and functionality of your roof with GRP trims. This video provides a step-by-step guide to measuring, cutting, and installing trims around the perimeter of the roof, ensuring a polished and protected finish.

Video 5: The Finishing Touch: Applying the Topcoat

The final step in your GRP roofing project is applying the topcoat, which not only enhances the appearance but also provides additional protection against the elements. This video demonstrates the correct application technique, ensuring that the topcoat is evenly distributed and provides a durable, weather-resistant barrier.

How to Fibreglass a Roof Part 1

Brief Description: Installing fiberglass roofing involves a detailed process that requires careful planning and execution. This guide will walk you through the essential steps of fiberglass roofing, starting with the initial preparation and framing of the roof.

Fitting Roof Trims

Brief Description: Roof trims add a finishing touch to your fiberglass roof and provide protection from the elements. This step involves measuring, cutting, and installing roof trims around the edges of the roof, ensuring a seamless transition between the fiberglass panels and other parts of the structure.

Laminate Bandages

Brief Description: Laminate bandages are used to repair small cracks or holes in fiberglass roofs. This step involves mixing fiberglass resin and hardener, applying it to the damaged area, and then reinforcing it with fiberglass mats.

Laminate the roof

Brief Description: Laminating the roof involves applying a layer of fiberglass resin and mats to the entire roof surface. This process creates a durable and watertight barrier that protects the roof from the elements.

Apply the Roof Topcoat

Brief Description: The roof topcoat is the final layer of protection for your fiberglass roof. It provides UV protection, enhances the appearance of the roof, and seals out moisture.

×