

✅ Can Polyurethane Liquid Rubber Be Applied Over a Lead Roof or Lead Valley?
✔️ Short Answer:
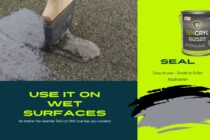
Yes, polyurethane liquid rubber can be applied over lead roofs or lead valleys, provided the surface is properly cleaned, prepared, and primed (if necessary). Proper application can enhance waterproofing and extend the life of the lead substrate.
🛠️ In-Depth How-To Guide
🔧 Tools & Materials Needed:
Polyurethane liquid rubber (e.g., Liquid Rubber Waterproof Sealant or a similar product)
Wire brush or abrasive pad
Degreaser or mild detergent
Clean rags or cloths
Solvent (e.g., isopropyl alcohol or acetone)
Primer (manufacturer-recommended for lead, if needed)
Paint roller or brush
Masking tape (to define edges)
Safety gear (gloves, goggles, respirator if indoors)
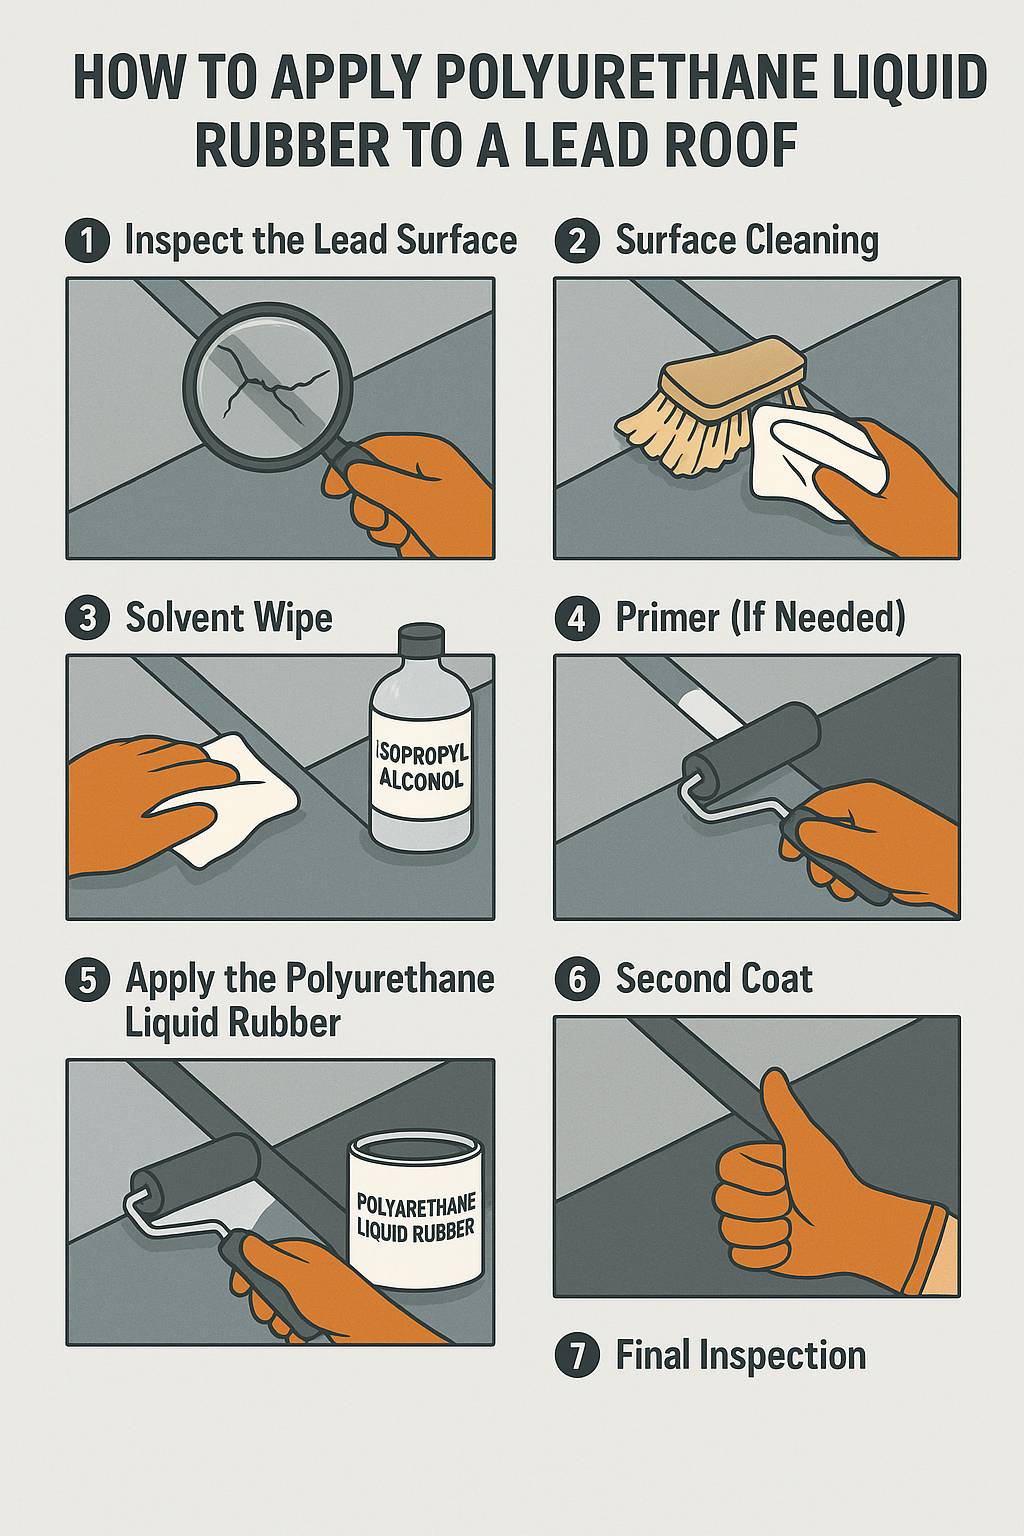
📋 Step-by-Step Application Instructions
Step 1: Inspect the Lead Surface
Look for corrosion, cracks, splits, or loose fixings.
If the lead is damaged, consider repairs or welding before coating.
Step 2: Surface Cleaning
Remove debris, dirt, and oxidation using a wire brush or scouring pad.
Wash the area with a lead-safe degreaser or warm water and mild detergent.
Rinse thoroughly and allow to dry completely.
Step 3: Solvent Wipe
Wipe the surface with isopropyl alcohol or acetone to remove oils or residues.
Let it flash off completely before proceeding.
Step 4: Primer (If Needed)
Some polyurethane products adhere well to lead without a primer.
Check the manufacturer’s data sheet. If recommended, use a lead-compatible primer.
Apply primer and let it cure as directed (usually 2–4 hours).
Step 5: Apply the Polyurethane Liquid Rubber
Use a brush or roller to apply an even coat.
Apply in overlapping strokes to ensure full coverage.
Avoid applying too thick in one coat (can lead to bubbling or poor curing).
Allow the first coat to cure (usually 4–8 hours).
Step 6: Second Coat
Apply a second coat perpendicular to the first (if required for durability).
Allow full cure time, typically 24–48 hours before heavy rain or foot traffic.
Step 7: Final Inspection
Check for uniform coverage and make any touch-ups.
Ensure water flow is not impeded in valleys or gutters.
❓ Q&A: Common Questions About Polyurethane on Lead Roofs
Q1: Will polyurethane liquid rubber stick to lead without a primer?
A: Sometimes, yes. Many polyurethane products have excellent adhesion to metals, including lead. However, for long-term performance, a primer is often recommended—especially on older, oxidized lead or in high-moisture environments.
Q2: Is it safe to coat lead with polyurethane?
A: Yes. It can actually encapsulate the lead, reducing exposure to lead dust or oxidation. However, surface prep is critical to avoid poor bonding or future delamination.
Q3: Does polyurethane rubber expand and contract with lead?
A: Polyurethane coatings are typically very flexible and elastomeric, making them ideal for metals that expand/contract with temperature fluctuations. They’ll flex with the lead and maintain the waterproof seal.
Q4: Can I use this on vertical lead flashing or only horizontal valleys?
A: Yes, polyurethane liquid rubber adheres well to vertical and sloped surfaces, provided proper preparation and multiple coats are applied. For vertical flashing, use a thicker initial coat or brush it in carefully to prevent runs.
Q5: What are common failure points?
Improper prep (grease or oxidation not removed)
Skipping primer when it’s needed
Overly thick coats causing improper curing
Applying in poor weather (cold, damp, or rain shortly after application)
Q6: How long does it last on a lead roof?
A: If applied correctly, high-quality polyurethane coatings can last 10–20 years or more. Regular inspection and touch-ups can further extend lifespan.
Q7: Can I paint over polyurethane rubber later?
A: Yes, but use a compatible topcoat. Some polyurethane sealants remain tacky or flexible, so ensure your topcoat is designed to bond with cured rubber coatings.
Q8: Are there alternatives to polyurethane liquid rubber for sealing lead?
A: Yes:
Silicone-based coatings (high flexibility, UV resistant)
EPDM liquid membranes
Bitumen-based paints (less flexible, shorter life)
But polyurethane generally offers the best balance of adhesion, flexibility, and durability on metal substrates.
⚠️ Safety Tips
Always wear PPE—gloves, goggles, and a respirator when working with solvents or in enclosed spaces.
Dispose of rags and solvents safely.
Ensure good ventilation.
📌 Summary
| Step | Key Point |
|---|---|
| 1 | Clean lead thoroughly |
| 2 | Remove oxidation and oil |
| 3 | Prime if needed |
| 4 | Apply polyurethane in thin coats |
| 5 | Cure fully before exposure to rain |
Applying polyurethane liquid rubber over lead is a highly effective waterproofing method if you follow proper surface prep and manufacturer instructions.
Quick Tools Overview Table
Tool/Material Purpose Wire brush Remove oxidation and dirt Solvent (e.g., alcohol) Degrease before coating Primer (if needed) Ensure adhesion Polyurethane rubber Waterproof coating Paint roller/brush Apply coating Pro Tips :
⚠️ Ensure dry weather for at least 24–48 hours after application. Moisture during curing can compromise adhesion.
Allow each coat to dry for 4–8 hours, or as directed by the manufacturer.
💡 Pro Tip: Use a tinted primer or first coat to help visually confirm coverage when applying the second coa